Welcome to my F-ing life!


Showing posts with label dessert. Show all posts

Sunday, January 9, 2011

Toffee Bars


Toffee rhymes with coffee. Not only do I adore things that rhyme with my favorite beverage, but I love how things that combine with it taste so good.

There is no coffee in the recipe (mislead much?), but a few of these babies with a steaming cuppa Joe and...well, I'll have to get back to you on that. I'm too busy enjoying my Toffee Bars and coffee...

Cream butter and brown sugar together, then add egg and vanilla.

Add flour and mix.

If you don't eat all the dough before you get to this stage, my hat is off to you! Spread the dough out, flatten and bake.

Remove from oven and sprinkle on the chips. Put back in the oven for a minute. Spread that melted chocolate everywhere.

Layer on the toffee chips. Try to wait long enough for the chocolate to set before slicing into squares!

Toffee chocolatey goodness!


Toffee Bars

makes 16-20 (depending on the size you cut them)

2 sticks butter, softened
1 cup packed brown sugar
1 whole egg
2 teaspoons vanilla
2 cups all-purpose flour
2 cups milk chocolate chips
1 to 1-1/1 cups English toffee bits
Preheat oven to 350 degrees.

Cream butter and brown sugar until fluffy. Add egg, vanilla, and flour and mix until combined. 
Spread on cookie sheet with a spatula (or use your hands, which I find much easier) until thin. 
Bake for 15 minutes, or until golden. Remove pan from oven and sprinkle on chocolate chips. Return to oven for about a minute. 
Remove from oven and spread chocolate thinly over the cookie layer with the back of a spoon.
Sprinkle with toffee. Cut into squares.

Monday, December 13, 2010

Nutella Pumpkin Cake - A great snack for....

...after school and your kids are driving you bonkers.
...late at night when your stomach starts yelling at you that the chicken you had for dinner just didn't cut it.
...first thing in the morning when you're too lazy to even make a bowl of cereal.
...any darned time you want something really, really good.


Cream butter, sugar, brown sugar. Add an egg and vanilla.

Add some pumpkin.

Whisk together flour, cinnamon, nutmeg, baking soda, and salt.

Mix in the flour mixture until just combined.

Spread batter evenly into the pan.

Drop tablespoons of Nutella all over the cake batter. Eat a few spoonfuls for yourself...go on, no one is looking!


Swirl, baby, Swirl!
Mmmm...snacky.


Nutella Pumpkin Cake

2 cups all-purpose flour
1 1/2 teaspoons of cinnamon
1/2 teaspoon fresh nutmeg
1/4 teaspoon ginger
1 teaspoon baking soda
3/4 teaspoon salt
2 sticks unsalted butter, at room temperature
3/4 cup granulated sugar
3/4 cup brown sugar
1 large egg
2 teaspoons vanilla extract
1 cup pumpkin
1 cup Nutella
Preheat oven to 350 degrees.

Spray a 9x13inch baking pan with cooking spray. Set aside.


In a large bowl, cream butter and sugars until smooth. Beat in the egg and vanilla until well blended. Add the pumpkin. 

In a medium bowl, whisk together flour, cinnamon, nutmeg, baking soda, and salt.  

Reduce speed to low, and mix in the flour mixture until just combined.  Spread batter evenly into the prepared pan.

Drop tablespoons of Nutella all over the pumpkin cake batter. Swirl in the Nutella with a knife.

Bake for about 35-40 minutes or until a toothpick comes out clean. Cool completely. 

Friday, July 2, 2010

Blondies with Brown Sugar Frosting - Little Lawyer's Sweet Tooth


This summer, Little Lawyer wants to perfect her dessert making technique instead of her sleeping until noon technique, or her eating chicken nuggets and pop tarts until she blows up technique. She originally wanted to hone her infamous "I'm SOOOO Bored!!!" summer battle cry, but I quickly suggested the 'make desserts yourself every week over summer break' thing before she could think of something worse.

She picks what she wants to make. She makes 'em. We eat 'em.  Deliciousness ensues.

This time, she chose Blondies with a frosting. How awesome is that?!?! These turned out wonderful with just the right amount of contrast with a drier blondie and a sweet, creamy brown sugar frosting.


Cream the butter and sugar together until oh-so-fluffy.


Then blend in the brown sugar, eggs and vanilla.


Gradually add the flour a little at a time until it's all in there.


Add the baking powder and salt.


Spread batter evenly into an ungreased 13x9 baking dish.


Bake for 18-20 minutes and remove to cool completely.


For the frosting, melt brown sugar and butter in a small saucepan. Cook on low for about 2 minutes, stirring all the while.


When all melted together, stir in the half-n-half and let it come to a rolling boil.  


Remove from the heat and gradually stir in the powdered sugar until incorporated.


Add vanilla and mix well until spreadable and smooth.  You can add a smidge or two more of half-n-half if the mixture is too thick. 


Spread frosting over cooled blondies. Sprinkle with your choice of nuts - I had chopped pecans on hand.


Cut into squares and enjoy!

Blondies with Brown Sugar Frosting

For Blondies:
1/2 cup (1 stick) unsalted butter, softened
1 cup sugar
1/2 cup packed brown sugar
2 eggs
1 tsp vanilla
1-1/2 cups all purpose flour
1/2 tsp salt
1 tsp baking powder

For Frosting:
1/3 cup butter
2/3 cup packed brown sugar
3 tbsp half-n-half
2 cups powdered sugar
1 tsp vanilla
1/2 cup chopped nuts (optional)

Heat oven to 350.  In a large bowl, cream butter and sugar together.  Beat in the brown sugar, vanilla and eggs until light and fluffy.  Gradually add flour, baking powder and salt.  Spread mixture evenly into an ungreased 13x9 pan.  Bake 18-20 minutes or until toothpick inserted into center comes out clean. Cool completely.

In saucepan, melt the butter and brown sugar over low heat, stirring constantly for about 2 minutes.  Stir in half-n-half and cook until mixture comes to a rolling boil.  Remove from heat and gradually whisk in the powdered sugar, mixing well after each addition. Whisk in vanilla and stir until smooth and spreadable.

Spread frosting over blondies. If using nuts, sprinkle the frosting immediately after spreading while still warm. Cut blondies into squares for serving (or hide the pan from your family and keep these babies all to yourself!)

Tuesday, June 29, 2010

Rice Krispie Treats - Little Lawyer's Sweet Tooth


This summer, Little Lawyer wants to perfect her dessert making technique instead of her sleeping until noon technique, or her eating chicken nuggets and pop tarts until she blows up technique. She originally wanted to hone her infamous "I'm SOOOO Bored!!!" summer battle cry, but I quickly suggested the 'make desserts yourself every week over summer break' thing before she could think of something worse.

She picks what she wants to make. She makes 'em. We eat 'em.  Deliciousness ensues.


The only time I ever want a Rice Krispie Treat is (1) when we are in Downtown Disney in Orlando and we inevitably end up in the Earl of Sandwich where you can get one that...I kid you not...is 8 inches by 5 inches and 4 inches high and ama-ZING, or (2) when I see one of those sappy commercials on TV that show the Mom or Dad spending quality time with their preschool age sweetly behaved children. Yeah, then I look at the sticky, gooey mess and the craving passes.

Little Lawyer wanted to have a friend come over and hang out last week. I feel about about situations like this. LL doesn't have a bedroom (she rooms with me and Papa Bear) and doesn't have a lot of toys. She never was much of a "toy" kind of kid; she plays on the computer, reads, watches TV and does magic tricks.  We have a Wii, but all the games are in storage in who-knows-which box. We don't even use it to play games. We use it to watch movies on Netflix. I feel bad because there's nowhere for them to play/hang out and not much for them to do.

Her friend brought her own Wii games (yay!) and Jenga to play, and I thought it might be fun to let them make a snack...Rice Krispie Treats, anyone?


This has got to be, hands down, the easiest recipe in the universe. Only three ingredients, it takes five whole minutes to make and there is zero room for error.

That is, until...I get a hold of it! However, I like to think of it more as an improvement than an error...

Because I can't leave well enough alone, I added two more ingredients and doubled the recipe. It's who I am. Don't fight it...just go with it. Little Lawyer does.


The Original Three:  Rice Krispies, Marshmallows and Butter. We made double, so you're not seeing double...well, wait...yes you are seeing double because we made double. Ugh.


Melt the butter! This is the part that takes the longest...
(The first secret extra ingredient? A pinch of salt.)


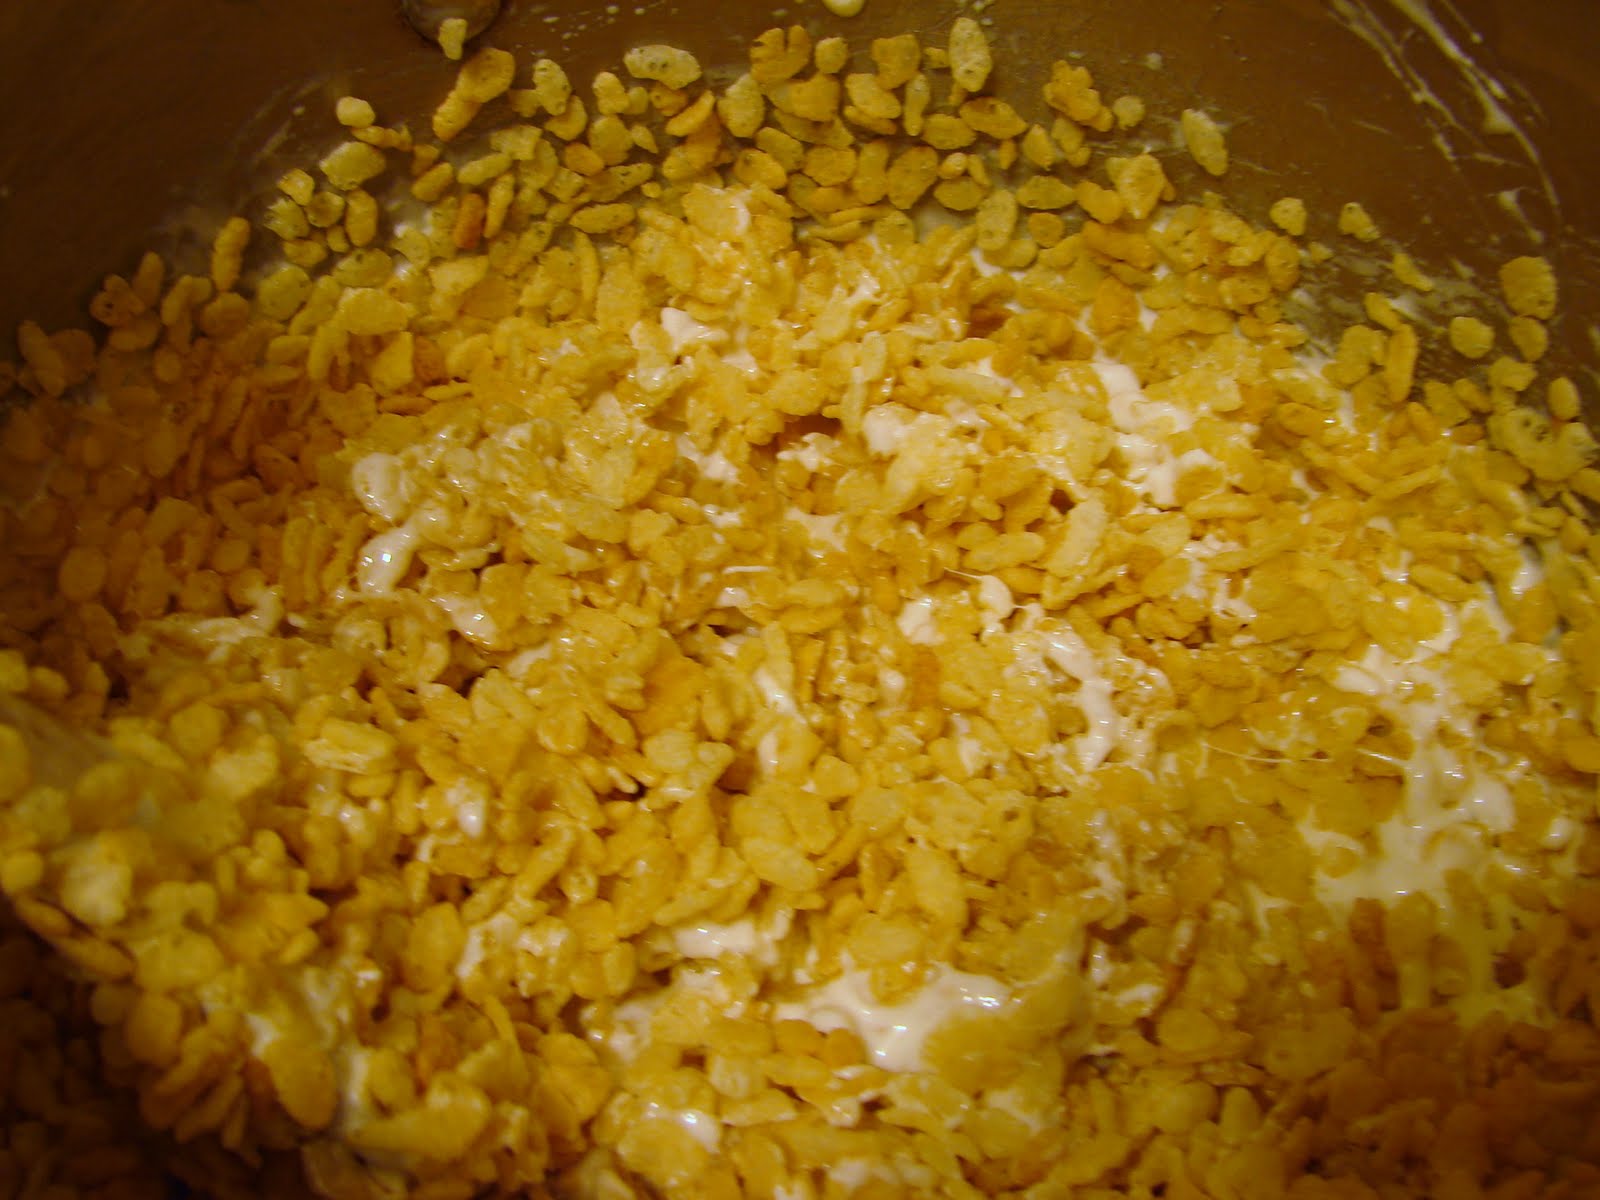
Then add those marshmallows! Stir, stir, stir..then I hear "Mooooooom!!! This is too hard to stir!!"


Basically, you're looking for marshmallow fluff consistency here.


(The second secret ingredient? A capfull of vanilla.)


Stir, stir, stir - as if your life depended on it. With two hungry nine year olds drooling in the wings, my life did indeed depend on it.


Pour (okay, scrape and dump is way more like it) the mixture into a 9x13 pan lined with buttered foil. Since I doubled the recipe, I used a rimmed baking sheet instead.


Spread the mixture out as best as you can.


Useful tip:  Use a square (or two) of wax paper to use between your hand and the sticky stuff to help spread it out and pack it in.


Make sure it's spread out as even as possible and let it cool completely, about 15-20 minutes.


Remove from pan using foil.  Peel back the foil on all four sides and cut into squares.  You could get creative here and use cookie cutters with different shapes, drizzle chocolate or caramel on top...


Whatever the finished product looks like, trust me...it will be an instant hit.

Rice Krispie Treats

(for a single 9x13 pan)

6 cups of Rice Krispie cereal
1 10 ounce bag of mini marshmallows
1/2 stick unsalted butter
Pinch of salt
1 tsp vanilla

Melt the butter in a large pot over medium heat.  Once the butter has melted, add the marshmallows to the pot. Stir constantly until the mixture is smooth and no visible lumps of marshmallows remain.  Remove from heat. Working very quickly, stir the cereal into the marshmallow goo. 

Once combined, dump the mixture into a 9x13 baking dish completely lined with buttered foil. Spread evenly into dish using a buttered spatula. Flatten (without crushing) with wax paper under the weight of your hand.

Let cool and harden for about 15 to 20 minutes.  Remove from pan using the foil edges. Place foil onto flat surface and peel back the sides of the foil. Cut into squares.

Monday, June 21, 2010

Devil's Food Cupcakes with Cream Cheese


This summer, Little Lawyer wants to perfect her dessert making technique instead of her sleeping until noon technique, or her eating chicken nuggets and pop tarts until she blows up technique. She originally wanted to hone her infamous "I'm SOOOO Bored!!!" summer battle cry, but I quickly suggested the 'make desserts yourself every week over summer break' thing before she could think of something worse.

She picks what she wants to make. She makes 'em. We eat 'em.  Deliciousness ensues.

She made a special Fathers Day dessert yesterday, as I mentioned in yesterdays post about our Fathers Day dinner. Never fear! She will return this Friday with her regularly scheduled dessert-of-the-week post.

These cupcakes were super easy since they are made from a mix.


The ingredients were simple:  Devil's Food cake mix, eggs, water, oil, sugar and cream cheese.


Heat your hot box to 350 and line your muffin tins with paper liners.  Combine the cake mix, eggs, water and oil for the batter.


Fill up your liners about 2/3 of the way full.  She went a little overboard...


Combine the cream cheese and sugar in another bowl. Put all of the cream cheese mixture into the corner of a medium sized gladlock bag. Snip off a small portion of that corner so you can pipe.


You can pipe letters, numbers, designs...whatever. Multi-occasional cupcakes, these are! LL decided to display her wishes for a happy Fathers Day. Or Happ Yfat Hers Day. With her, you just never know...

Learn from my idiocy:  Pipe small. She (we) piped the letters a bit too big and they really got lost in the cupcake. It didn't help either that the liner were a little too full. But we touched up the letters with the remaining cream cheese once the cupcakes were out of the oven and completely cooled, so they looked just fine!


Devil's Food Cupcakes with Cream Cheese

1 box Devil's Food cake mix
3 eggs
1-1/3 cups water
1/2 cup vegetable oil
8 ounces cream cheese, room temperature
1/2 cup sugar

Heat oven to 350. Place paper baking cup in each of 24 regular-size muffin cups. In large bowl, beat cake mix, water, oil and eggs with electric mixer on low speed 30 seconds. Beat on medium speed 2 minutes, scraping bowl occasionally. Divide batter evenly among cups (2⁄3 full).

In small bowl, beat cream cheese and sugar with electric mixer until smooth. Spoon into corner of small ziplock bag. Snip about 1⁄8 inch off one corner of bag. Pipe mixture onto batter in a small designs or letters to
decorate tops of cupcakes.

Bake 20 to 23 minutes or until toothpick inserted in center comes out clean. Cool 10 minutes; remove from
pan to cooling rack. Cool completely, about 30 minutes. Make any adjustments or corrections when completely cool.